Non Motor
Creating a Non-Motor Policy in Vanguard Genova: A Step-by-Step Guide
This guide provides a comprehensive walkthrough of the process for creating a non-motor policy within the Vanguard Genova system. Each step includes a screenshot to visually aid users and ensure accurate completion of the process. This SOP will cover policy creation from start to finish, including risk details and document review.
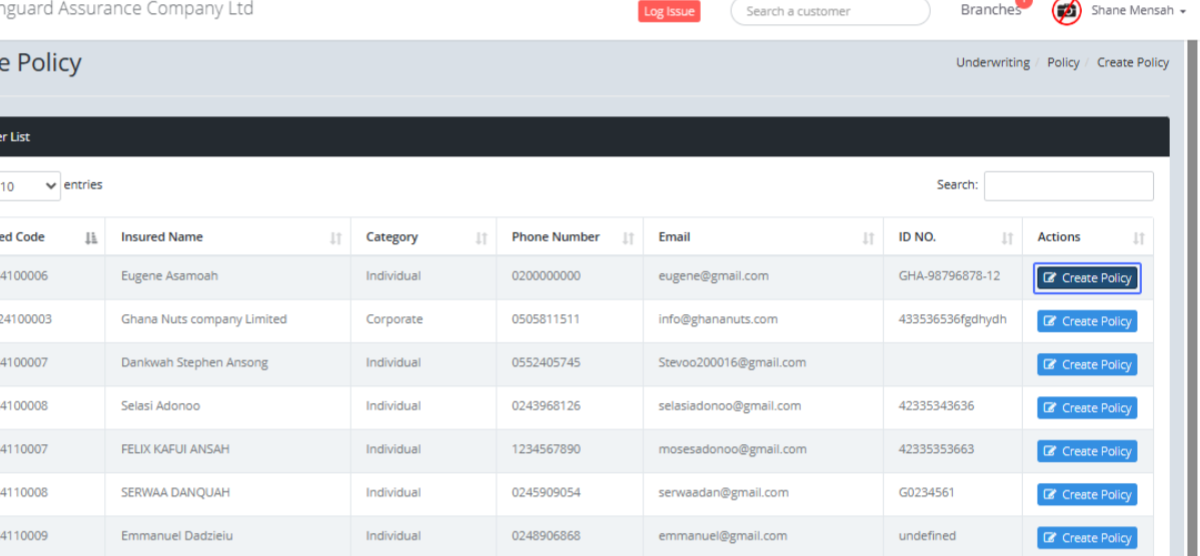
Start url: https://loyaltylive.genovainsure.com//cia/underwriting/customerlist
Tab Name: Create Policy - GENOVA INSURANCE
Initiate Policy Creation: Click on the "Create Policy" link.
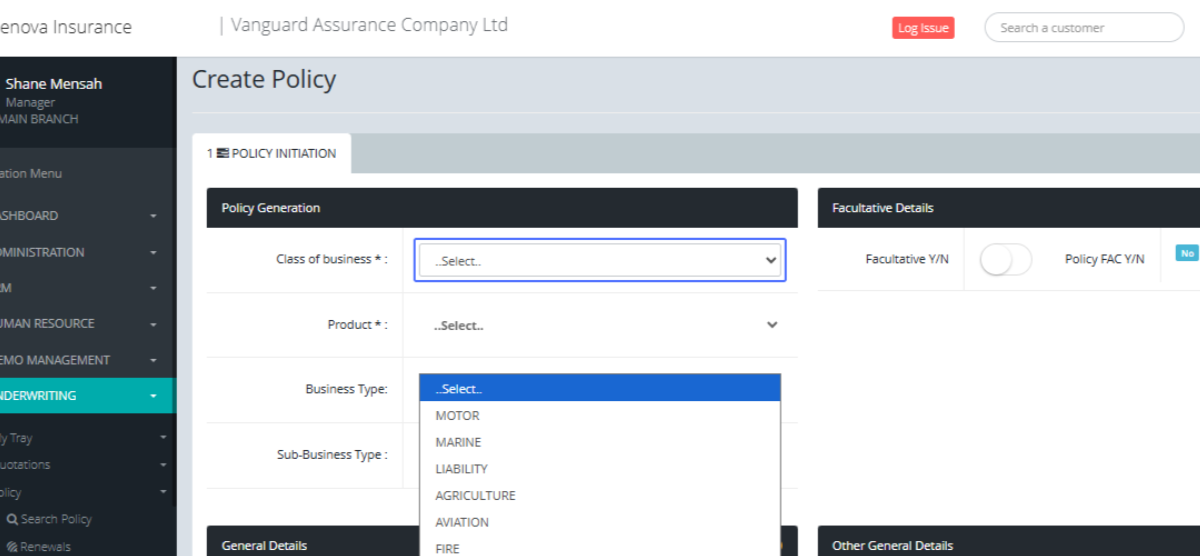
Select Policy Class: Choose the appropriate policy class from the dropdown menu (e.g., MOTOR, MARINE, LIABILITY).
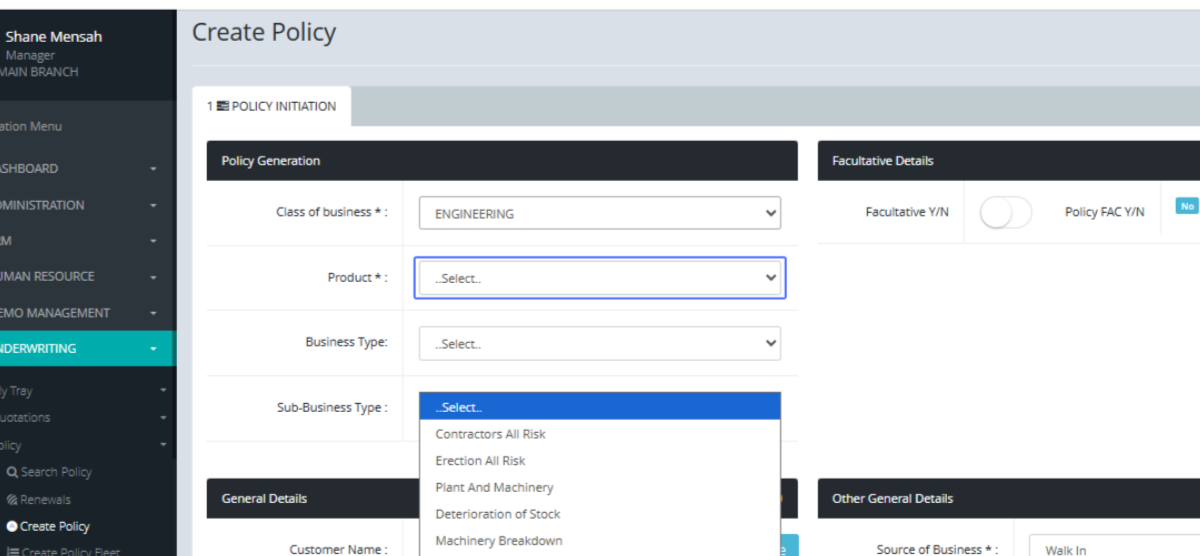
Select Policy Product: Select the specific policy product from the dropdown menu based on the chosen class.
Specify Business Type: Indicate whether the business type is "Direct" or "Inward".

Enter Policy Start Date: Input the policy start date using the provided date picker.
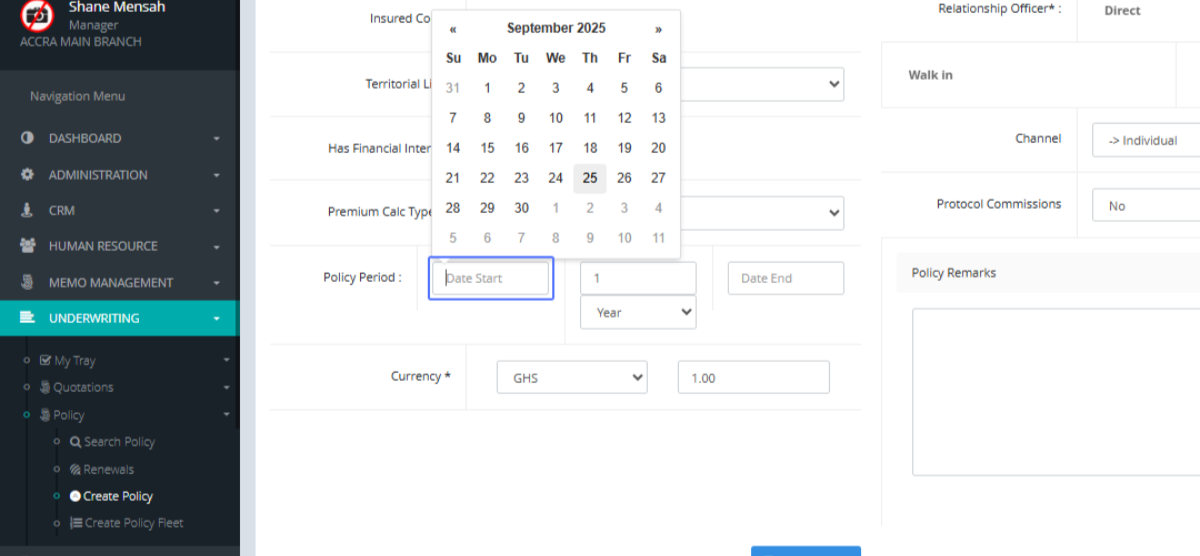
Select Policy Start Date (Calendar): Select the specific start date from the calendar.

Proceed to Risk Details: Click the "PROCEED" button to move to the risk details section.

Add a New Risk: Click the "Add" button to add a new risk to the policy.

Enter Risk Description: Input a detailed description of the risk in the provided text area.
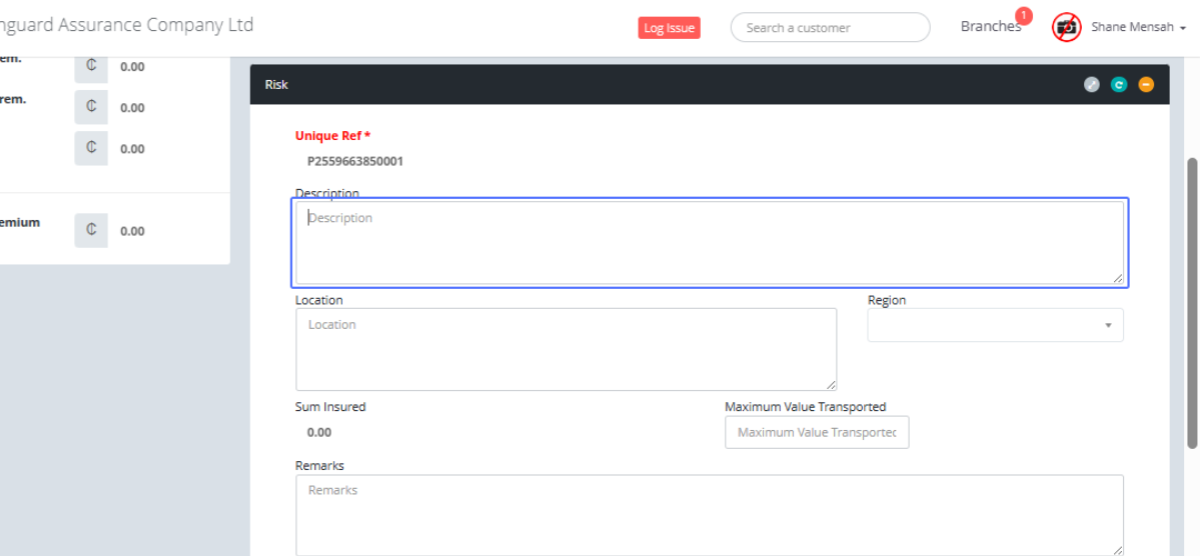
Enter Risk Location: Provide the location of the risk in the designated text area.

Select Risk Region: Select the region associated with the risk using the dropdown.
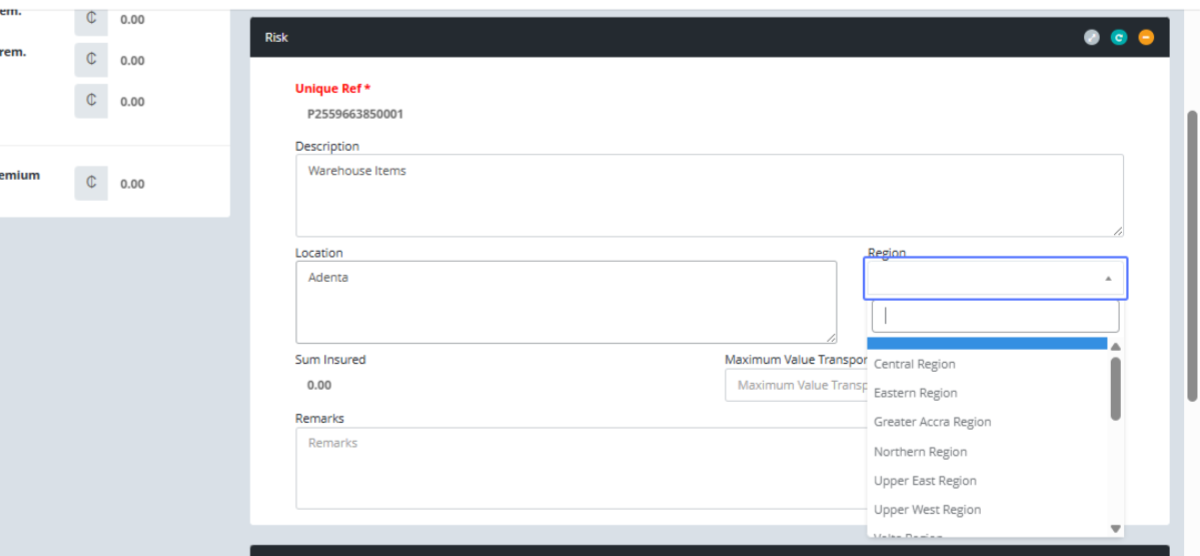
Select Specific Region: Choose the correct region from the list (e.g., Greater Accra Region).

Enter Item Description: Input descriptions for each item covered under the risk
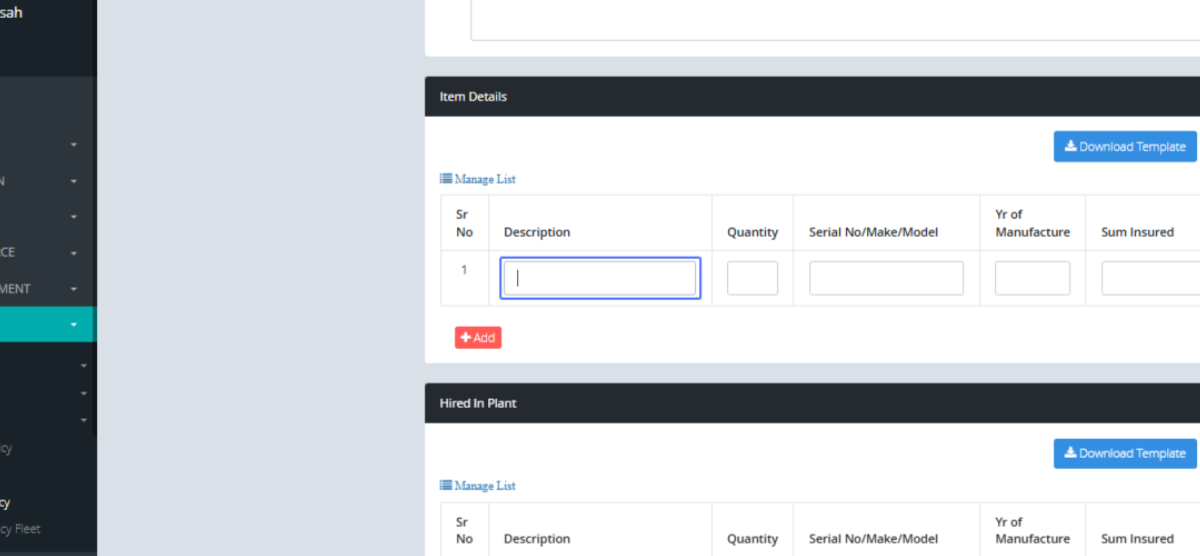
Enter Item Quantity: Specify the quantity for each item.
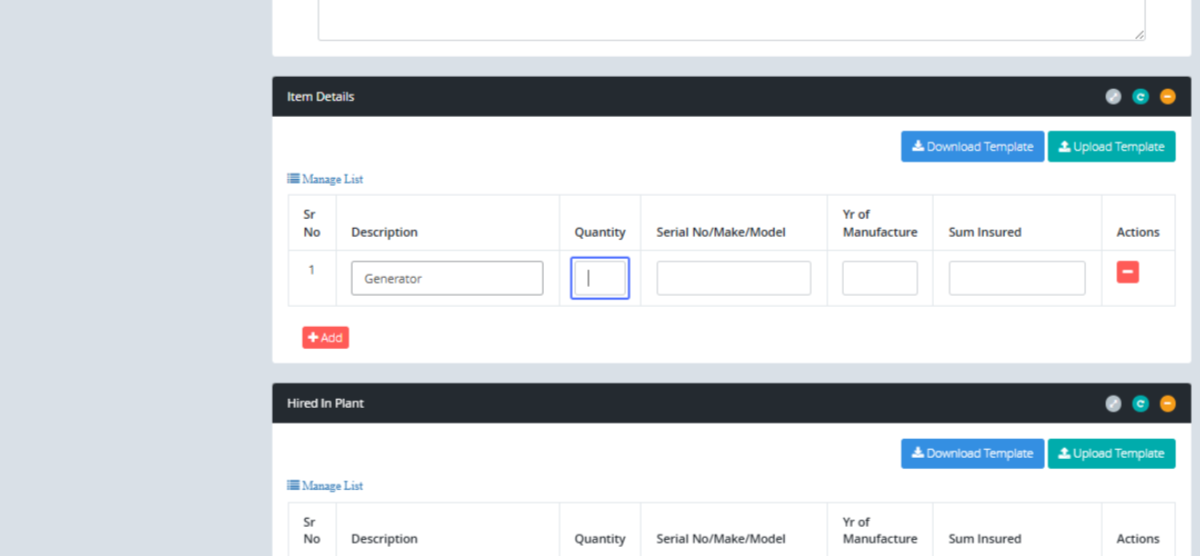
Enter Item Make and Model: Provide the make and model for each item.

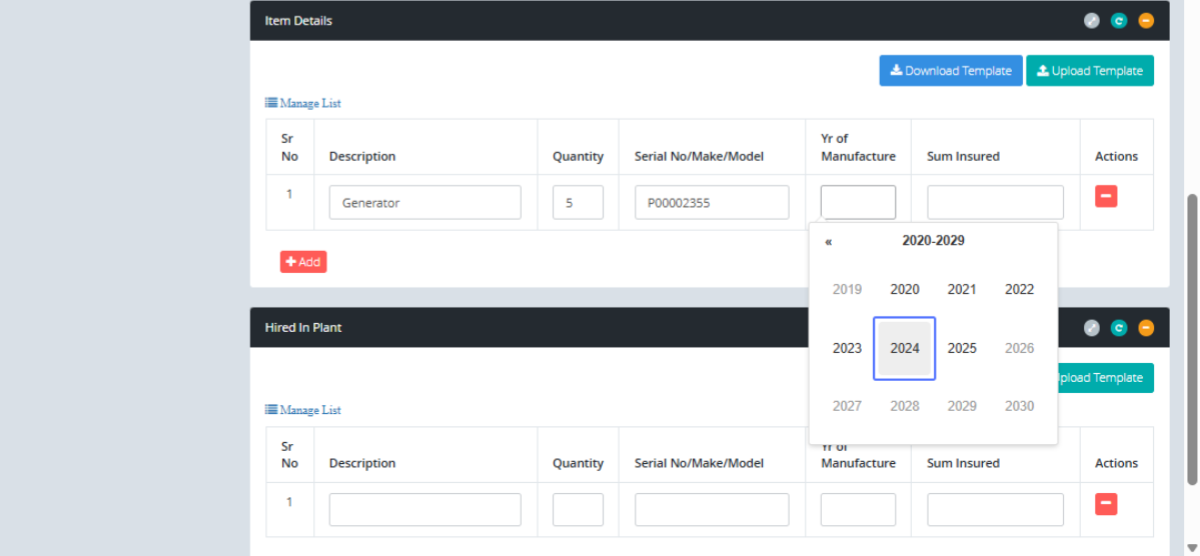
Enter Item Year of Manufacture: Input the year of manufacture for each item.
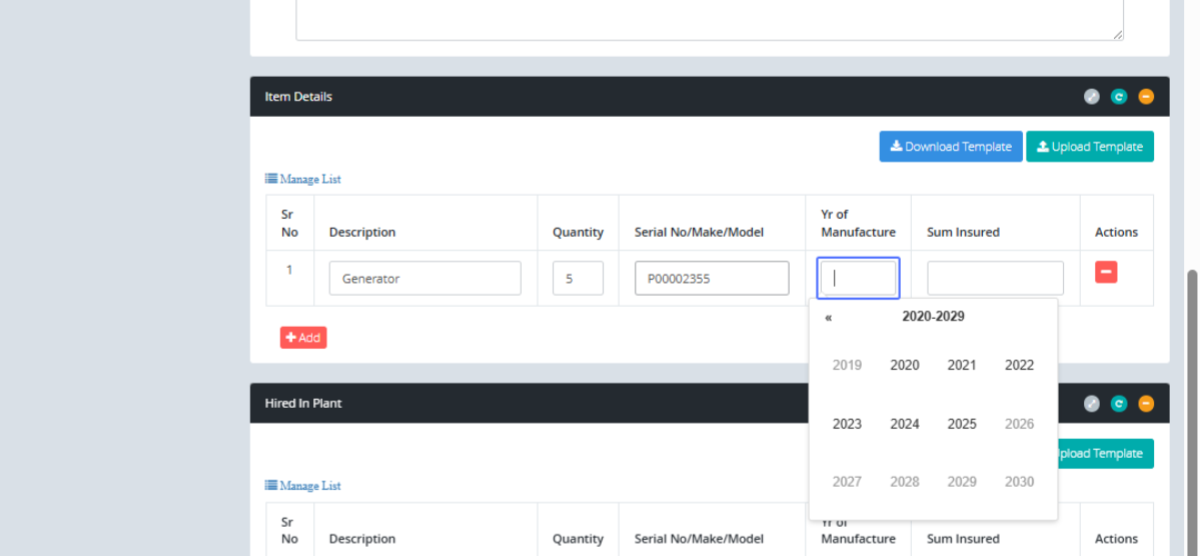
Select Year of Manufacture: Choose the year from the displayed options.
Enter Item Sum Insured: Enter the sum insured for each item.
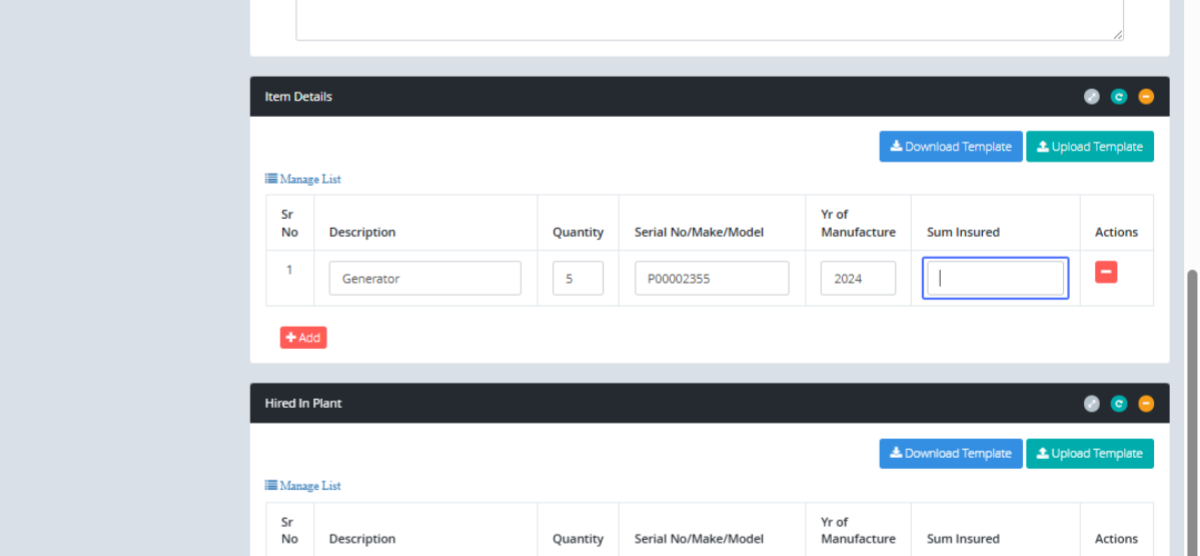
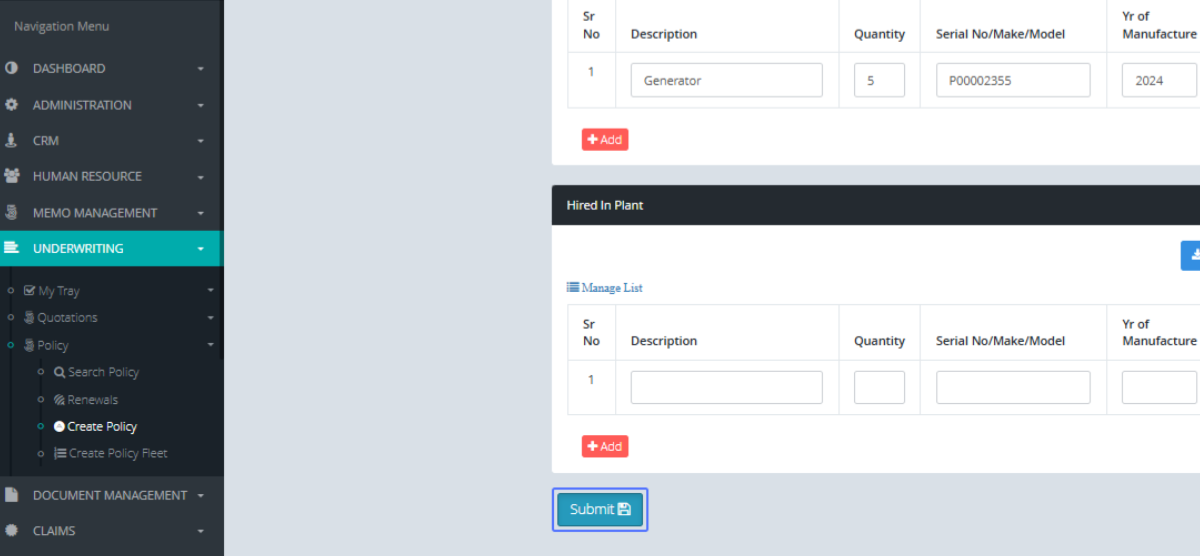
Submit Risk Details: Click the "Submit" button to save the risk information.
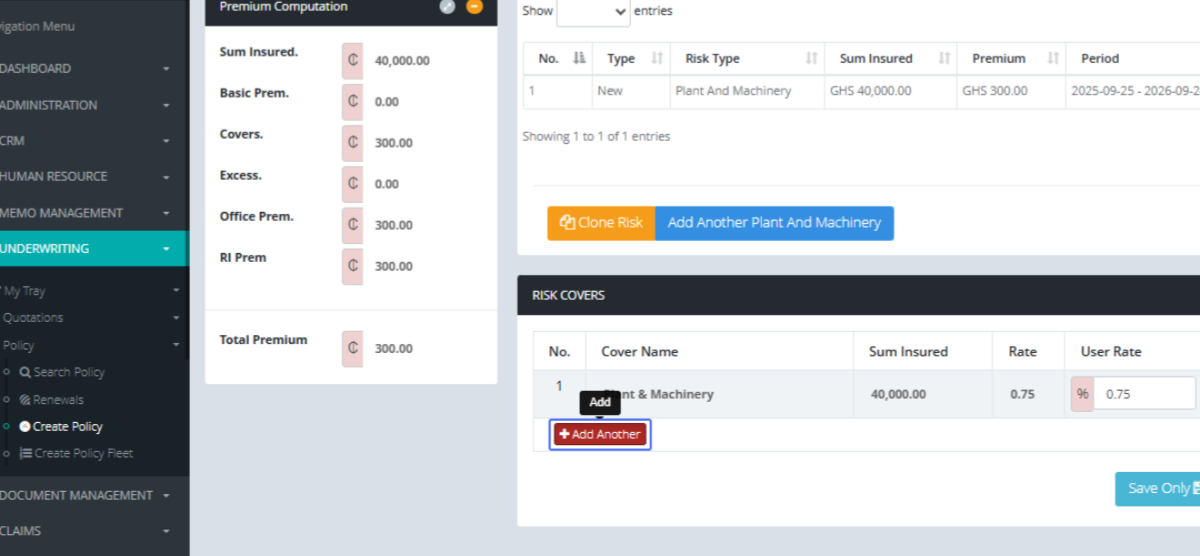
Add Another Cover (Optional): Users are then navigated to the covers section. Here we can see the default cover selected with its sum insured value. Users can click "Add Another" to add more covers if needed.
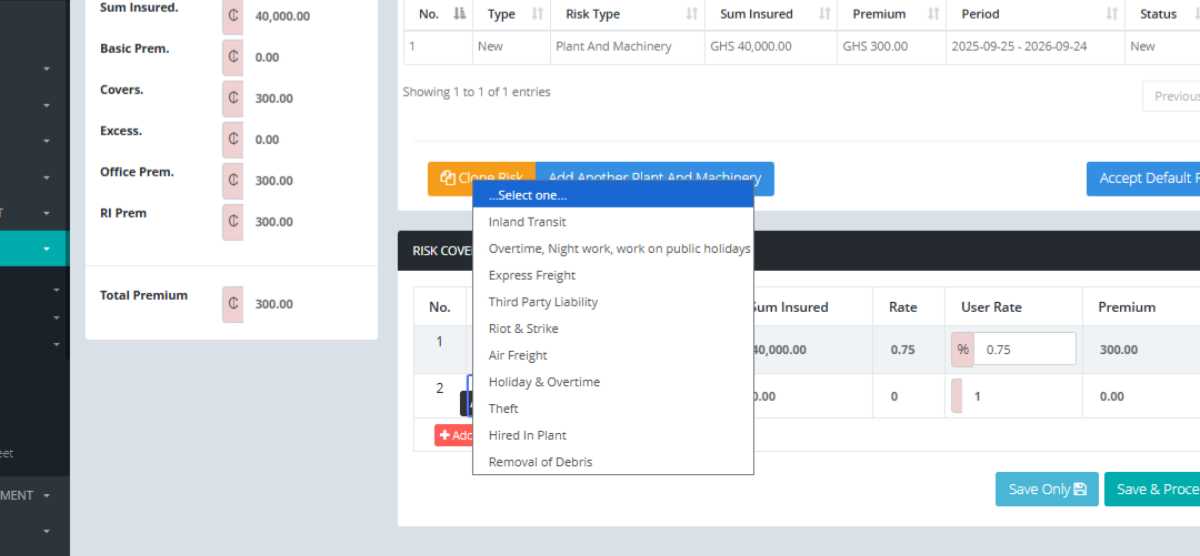
Select Cover Type: Users can select the appropriate cover type for the risk from the dropdown.
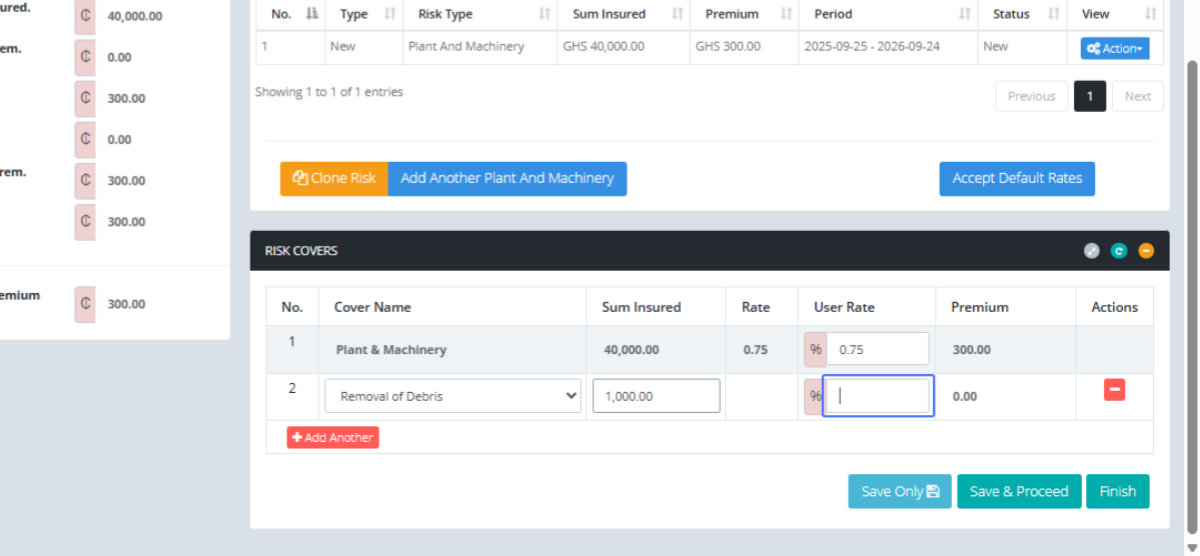
Enter Cover Sum Insured: Input the sum insured for the selected cover.

Enter Cover Rate: Enter the rate for the selected cover.
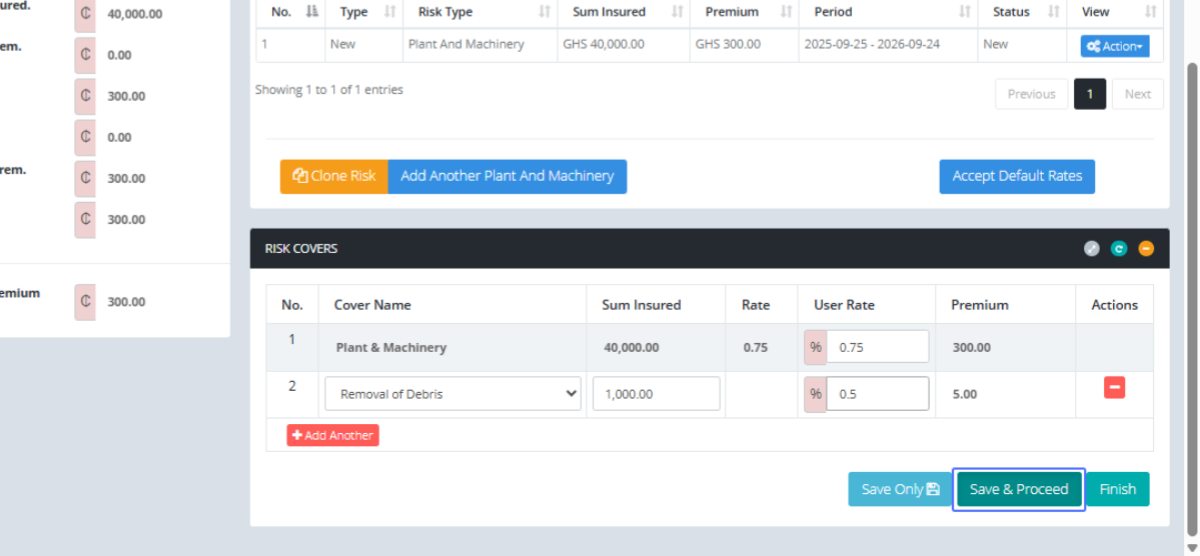
Save and Proceed: Click "Save & Proceed" to save the cover details and continue.
Finish Risk Entry: The user is then navigated to the deductibles page. If no deductible is being added the user can click "Finish" to complete the risk entry process.

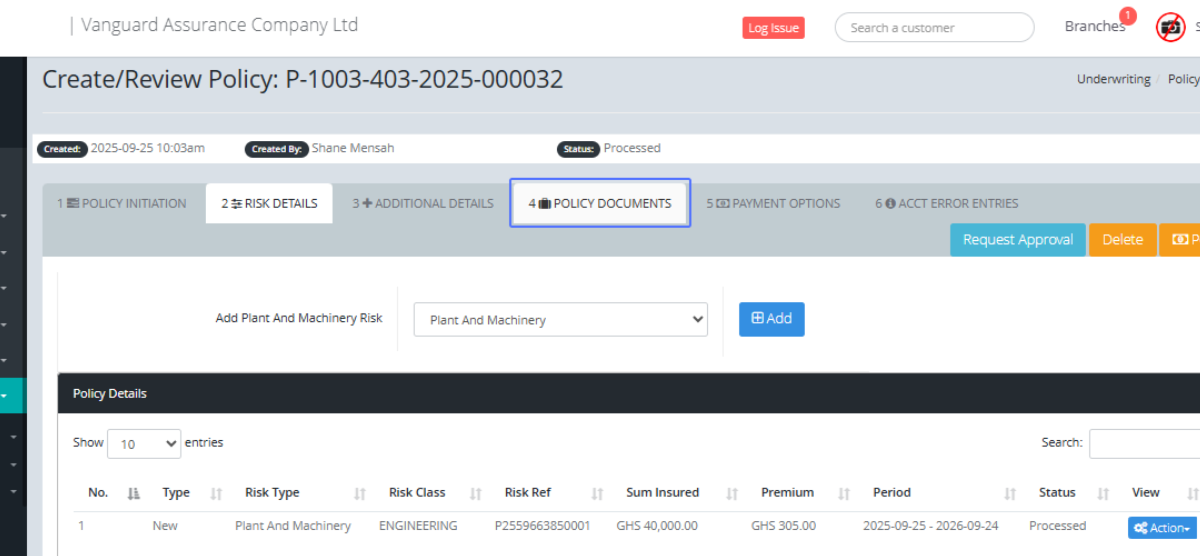
Access Policy Documents: Click on "POLICY DOCUMENTS" tab to review the generated policy documents.
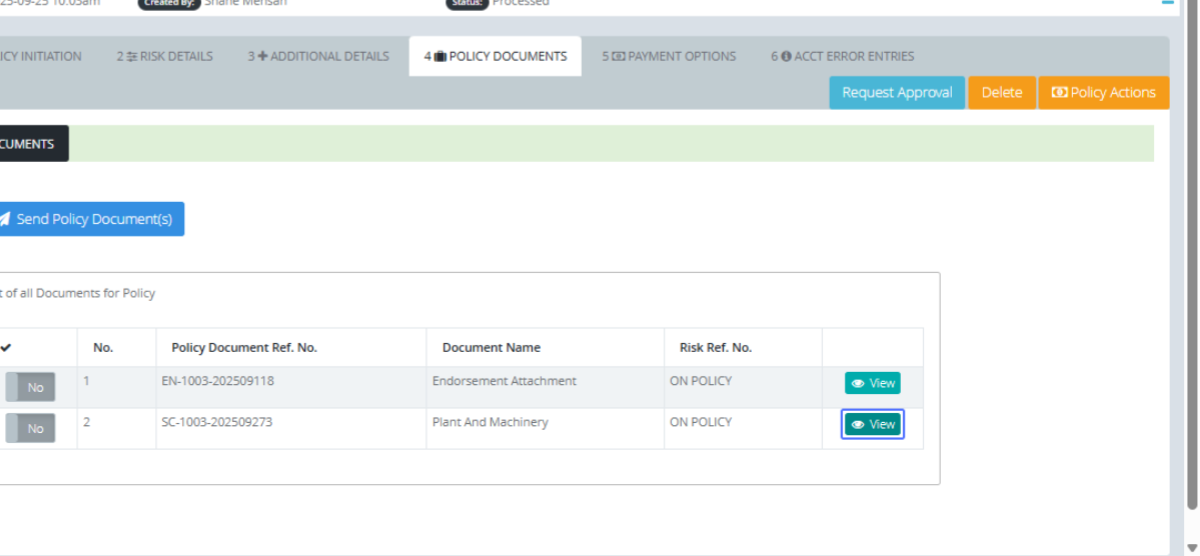
View Policy Document: Click the "View" button to preview a specific policy document.
Close Document Preview: Click "Close" to close the document preview window.
